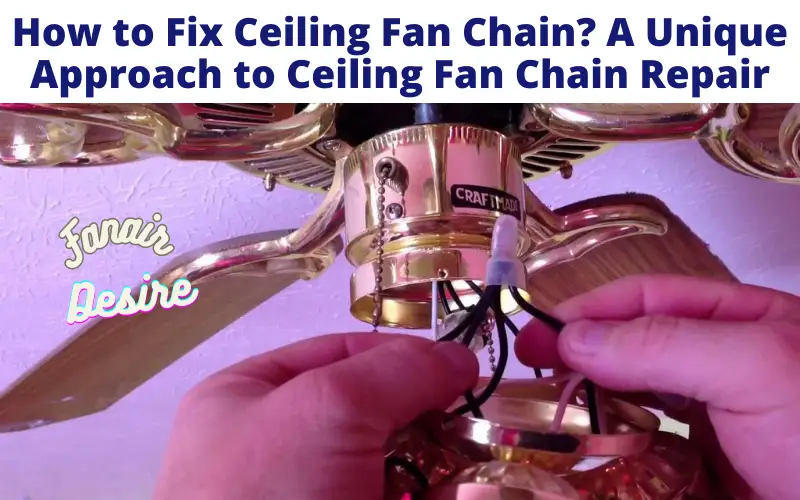
Ceiling fans are your go-to solution for cost-effective cooling and air circulation in your home. Yet, like any mechanical device, they can face issues over time, including a malfunctioning or broken pull chain. How to fix ceiling fan chain?
But fear not! Repairing a ceiling fan chain is a manageable DIY task that can save you time and money. In this comprehensive guide, we’ll take you through a step-by-step process with some unique tips to ensure your ceiling fan is up and running smoothly again.
How to Fix Ceiling Fan Chain? A Unique Approach to Ceiling Fan Chain Repair
Start with a Thorough Assessment
Before diving into repairs, take a moment to fully assess the situation. Is the chain entirely broken, or has it just come loose from the switch? A close examination can reveal the real issue and the best approach to fix it.
Gather Your Tools and Materials: How to Fix Ceiling Fan Chain?
To successfully repair the ceiling fan chain, you’ll need a few essential tools and materials:
- Screwdriver: This will help you access the fan’s housing and the switch.
- Replacement Chain: If the chain is broken, make sure you have a replacement that matches the size and style of the old chain.
- Needle-Nose Pliers: These are handy for making precise adjustments to the chain.
- Wire Strippers: If you need to shorten the chain, wire strippers will help you do it cleanly.
- Electrical Tape: Use this to secure the chain to the switch.
With your toolkit ready, you’re prepared to tackle the repair.
Prioritize Safety: How to Fix Ceiling Fan Chain?
Safety is paramount when working with electrical components. To ensure your well-being, turn off the power at the circuit breaker or fuse box before beginning any work on your ceiling fan. This step is crucial to prevent electrical accidents during the repair.
Gain Access to the Fan Housing
Most ceiling fans are equipped with a housing that covers the motor and electrical components. To access the chain and switch, you’ll need to remove this housing.
Utilize your screwdriver to carefully remove the screws or bolts securing the housing. Keep these screws in a safe place; you’ll need them later when reassembling the fan.
Thoroughly Inspect the Chain and Switch
Now that you’ve removed the housing, give the chain and switch a close examination. If the chain has simply come loose from the switch, you can reattach it by threading it back through the hole in the switch and securing it with a small knot. Needle-nose pliers can be a handy tool for this step.
If, however, the chain is indeed broken, it’s time for a replacement. Carefully remove any remaining pieces of the old chain from the switch.
Install the Replacement Chain
Take your new replacement chain and thread it through the switch, just like the old chain was. Ensure the length matches that of the original chain. If it’s too long, you can use wire strippers to shorten it to the desired length.
Secure the Chain in Place: How to Fix Ceiling Fan Chain?
To prevent the new chain from slipping out of the switch, use a small piece of electrical tape to secure it firmly. This ensures the chain remains attached and operates smoothly.
Reassemble the Fan: How to Fix Ceiling Fan Chain?
With the chain fixed, it’s time to put everything back together. Reattach the fan housing using the screws or bolts you removed earlier. Confirm that the housing is secure and properly aligned.
Restore Power and Test: How to Fix Ceiling Fan Chain?
Once the fan is fully reassembled, it’s time to restore the power at the circuit breaker or fuse box. Test the fan by pulling the repaired chain to ensure it operates smoothly and adjusts the fan’s settings as expected.
Regular Maintenance for Longevity
To avoid future chain issues with your ceiling fan, consider these maintenance tips:
Regular Cleaning: Dust and debris can accumulate on the chain, making it more susceptible to damage. Periodically clean the chain to keep it in good condition.
Silicone Lubricant: Applying a small amount of silicone lubricant to the chain can help it move smoothly and reduce wear and tear.
Gentle Pulling: When using the chain to adjust the fan’s settings, pull it gently instead of yanking it forcefully. This will prolong the chain’s life.
Replace Worn Chains: If you notice signs of wear, such as kinks or rust on the chain, replace it before it breaks to avoid inconvenience.
When to Seek Professional Assistance: How to Fix Ceiling Fan Chain?
While repairing a ceiling fan chain is typically a manageable DIY task, there are instances where professional help may be necessary:
Electrical Problems: If the fan remains non-functional even after chain repair, there may be underlying electrical issues requiring professional troubleshooting.
Structural Damage: If the fan housing or mounting bracket is damaged during the repair process, it’s crucial to have it inspected and repaired by a professional.
Unusual Noises: Grinding, scraping, or clicking sounds emanating from the fan may indicate more significant problems best addressed by a professional.
The Bottom Line: How to Fix Ceiling Fan Chain?
In most cases, fixing a ceiling fan chain is a straightforward task that any homeowner can handle. By following these steps and incorporating unique tips, you can maintain your ceiling fan in excellent working condition, ensuring a comfortable and cool environment in your home.
Remember to prioritize safety and consult a professional for complex issues to keep your fan operating smoothly and efficiently.

