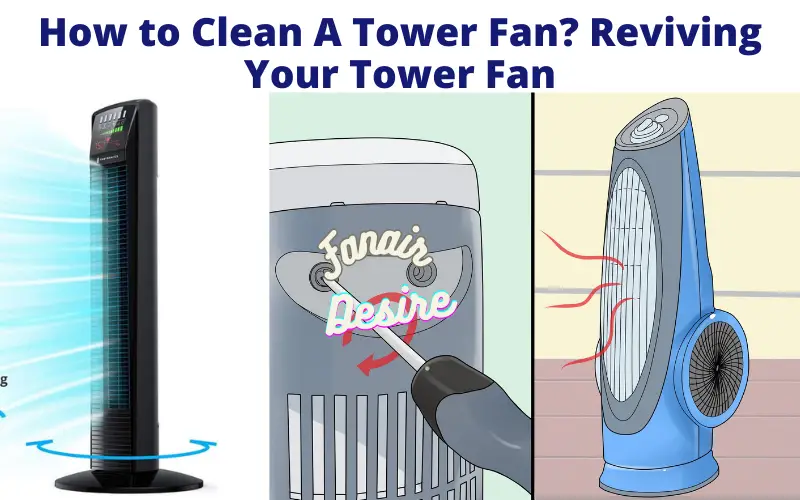
Tower fans are the unsung heroes of summertime, providing a welcome breeze when the heat becomes unbearable. However, to keep your tower fan performing at its best and ensure your indoor air quality stays top-notch, regular cleaning is a must. How to Clean A Tower Fan?
In this article, we’ll take you through the process of cleaning your tower fan, helping you maintain a fresh and cool home environment.
How to Clean A Tower Fan? Reviving Your Tower Fan
Understanding the Significance of Cleaning Your Tower Fan
Before we embark on the cleaning journey, let’s understand why it’s crucial to clean your tower fan. Over time, dust, grime, and airborne particles accumulate on the fan’s blades and housing, affecting both its performance and the quality of air it circulates. Cleaning your tower fan not only restores its efficiency but also helps you breathe easier.
Safety First: Before You Start: How to Clean A Tower Fan?
Ensuring safety takes precedence when dealing with electrical appliances. Begin by making sure your tower fan is unplugged and completely powered down. This precaution ensures your safety and prevents any accidental damage during cleaning.
Gathering Your Cleaning Arsenal: How to Clean A Tower Fan?
To undertake this cleaning mission successfully, you’ll need a few essential supplies:
- A screwdriver (typically Phillips-head)
- You can use a gentle-bristle brush or a vacuum cleaner equipped with a brush attachment.
- Choose a specialized cleaning solution.
- Warm water
- A microfiber or soft lint-free cloth
- Q-tips or cotton swabs
- Optional: an air canister for those hard-to-reach nooks and crannies
How to Clean A Tower Fan? Follow these Steps
Step 1: Disconnect the Tower Fan
Begin by ensuring your tower fan is completely powered down. Unplug it from the electrical outlet to eliminate any risk during the cleaning process.
Step 2: Dismantling the Tower Fan: How to Clean A Tower Fan?
Most tower fans are designed for easy disassembly. Commence by removing the front grill or cover. Typically, these are secured with clips or screws. Use your trusty screwdriver to remove any screws and then gently pry open the grill.
Next, carefully remove the fan blades, which are usually attached to the motor with a nut or screw at the center. Loosen the blade attachment and set the blades aside.
Step 3: Breathing New Life into the Fan Blades
The fan blades are the primary collectors of dust and dirt. Employ a soft-bristle brush, a vacuum cleaner with a brush attachment, or even an air canister to banish the dust buildup. Pay close attention to the blade edges, where dust tends to cling.
For stubborn dirt or residue, create a mild cleaning solution by mixing a detergent with warm water. Dip a cloth or sponge into the mixture and gently wipe down the blades. Ensure the blades are completely dry before proceeding to reassembly.
Step 4: Resurrecting the Housing and Grill
Now it’s time to give the housing and grill their due attention. Employ your brush or vacuum cleaner to eradicate dust and debris from both the interior and exterior of the tower fan. Take extra care around the areas housing the fan blades and motor.
When dealing with the grill, a wash with mild soapy water followed by thorough rinsing is ideal. Ensure the grill dries completely before reattaching, taking care to prevent any water from reaching the motor or electrical components.
Step 5: Tidying Up the Base: How to Clean A Tower Fan?
Don’t neglect the base of your tower fan. Dust and dirt can accumulate here too. Employ your brush or vacuum cleaner to remove any debris. If necessary, wipe down the base with a damp cloth.
Step 6: Reassemble and Rejuvenate: How to Clean A Tower Fan?
With all components clean and dry, it’s time to reassemble your tower fan. Start by placing the fan blades back onto the motor and securely fastening them with the nut or screw.
Reattach the front grill or cover by aligning it correctly and reinserting the screws or clips that were removed earlier. Ensure it’s firmly in place to avoid any wobbling or rattling when the fan is operating.
Step 7: The Moment of Truth – Testing
Now that your tower fan is reassembled, plug it back into the electrical outlet and turn it on. Test it to ensure it’s running smoothly and quietly. If everything appears to be in order, you’ve successfully cleaned and rejuvenated your tower fan!
Pro Tips for Tower Fan Maintenance
To keep your tower fan operating optimally and maintain healthy indoor air, consider these maintenance tips:
- Clean your tower fan every 1-2 months, or more frequently if you have pets or live in a dusty environment.
- Maintain a clean environment around your tower fan to slow down the accumulation of dust.
- Store your tower fan in a cool, dry place when it’s not in use.
- Regularly inspect the power cord for signs of damage or wear and tear.
Conclusion: A Breath of Fresh Air from Your Tower Fan
Cleaning your tower fan is a simple yet essential task that can significantly improve its performance and the quality of air in your home. By following the steps outlined in this guide, you can ensure your tower fan continues to provide you with cool, fresh airflow all year round.
Remember, a well-maintained tower fan not only keeps you comfortable but also contributes to a healthier living environment. So, roll up your sleeves, gather your cleaning supplies, and give your tower fan the TLC it deserves. Both your home and your comfort will express gratitude!

